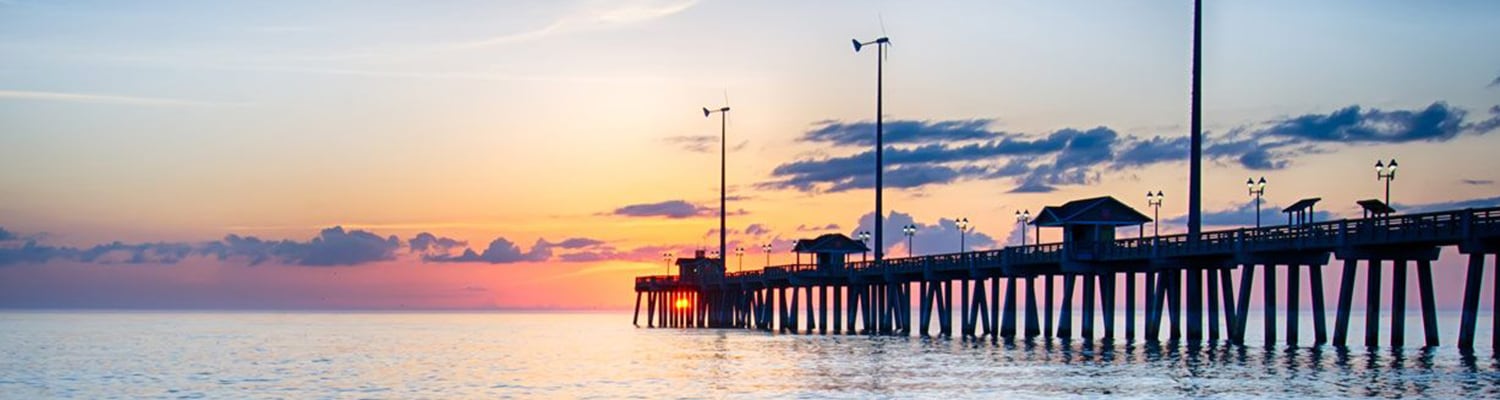
As an angler, you know that the adventure of fishing is as much about the experience as it is reeling in the big one. If you're used to one type of fishing (or fish), you'll love the variety that awaits you in Sandbridge Beach, Virginia.
Read MorePosts
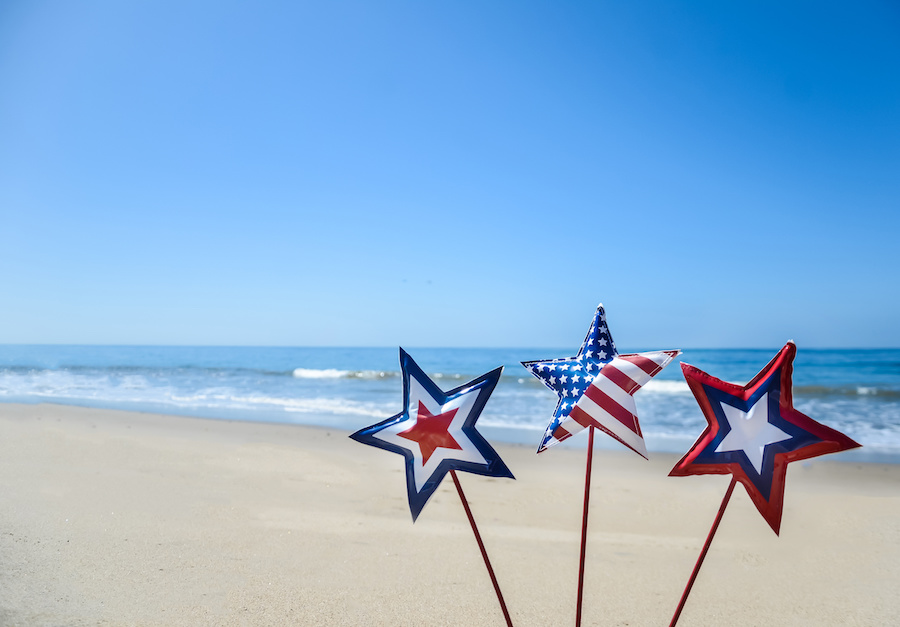
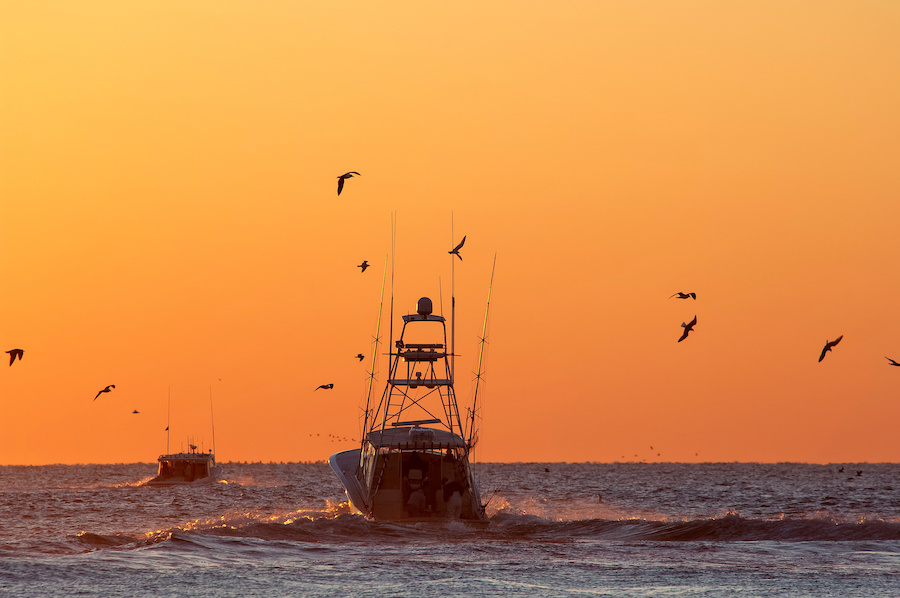
Memorial Day Weekend is the unofficial start to summer and there’s no better place to celebrate the season than Virginia Beach and the laid-back enclave of Sandbridge Beach. Whether you’re craving long relaxing beach days or a busy night out on the boardwalk, this slice of Virginia’s Atlantic Coast has everything you need for a long holiday weekend escape.
Read More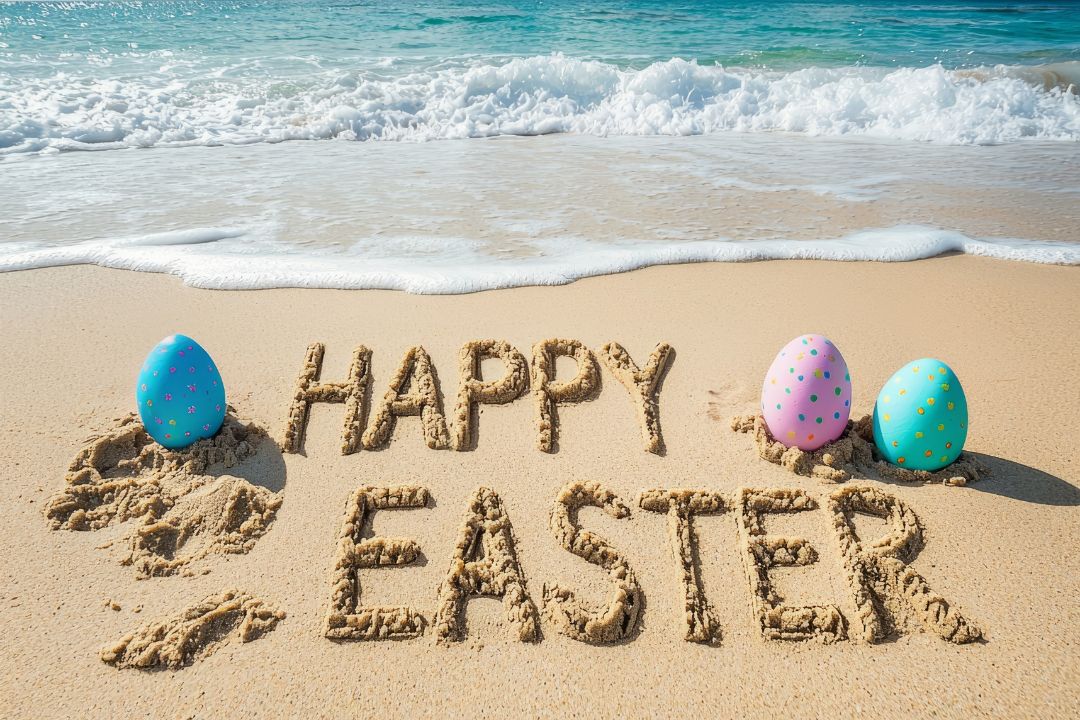
Welcome to the Easter extravaganza in Sandbridge Beach! Get ready for a whirlwind of egg-citing events and festive celebrations as we dive into the holiday spirit on our picturesque shores.
Read More
There's nothing more romantic than a coastal escape for Valentine’s Day, and Virginia Beach—especially the quiet, scenic Sandbridge Beach—is the perfect destination for couples looking to relax and reconnect. To help set the mood, we’ve rounded up five charming Sandbridge Beach vacation rentals that offer all the cozy and romantic touches you need for a dreamy g
Read More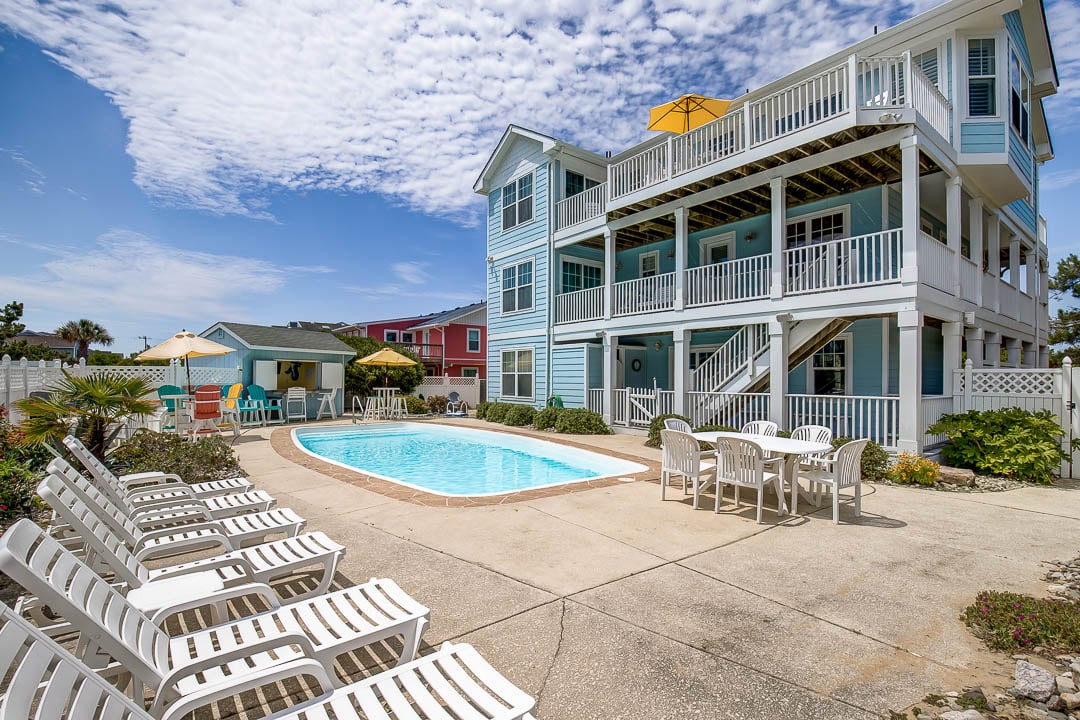
Are you dreaming of a beach trip, but can’t commit to a full week? Sandbridge Blue offers weekend rentals that are the perfect option for quick getaway to the Virginia coast. Whether you’re celebrating a special occasion, looking to recharge, or simply break up your routine, a short stay in Sandbridge Beach can help you relax and reset.
Read More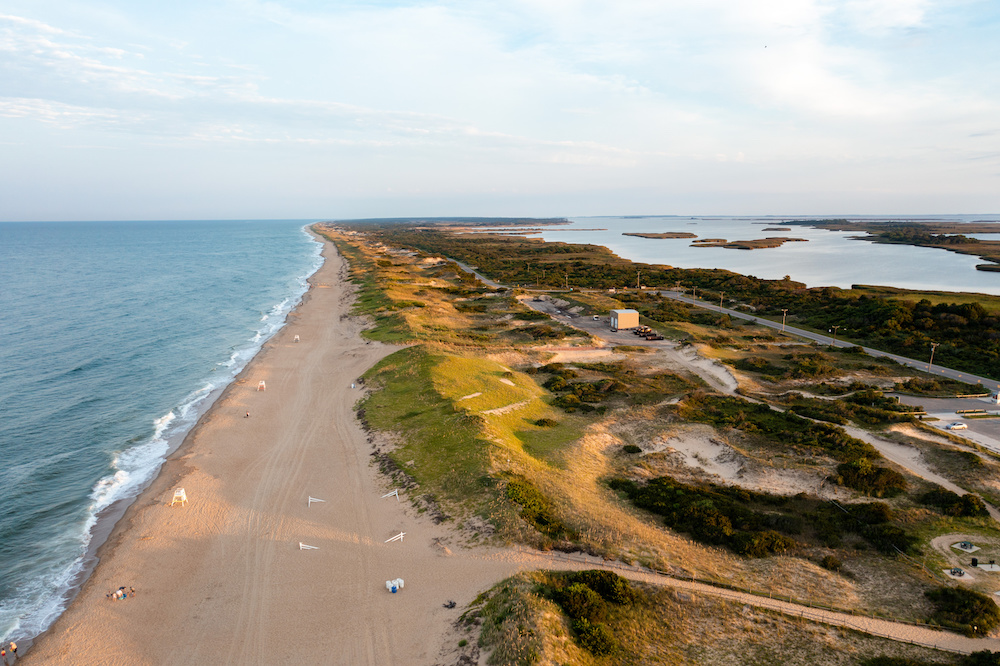
Sandbridge Beach is a quiet hidden gem just south of Virginia Beach, known for its relaxed atmosphere and stunning natural beauty. Whether you’re a nature lover, a watersports fan or just looking to unwind next to the Atlantic Ocean, you’ll find what you need here. Let’s walk through what to expect during each season, so you can decide when to plan your perfect vacation.
Read More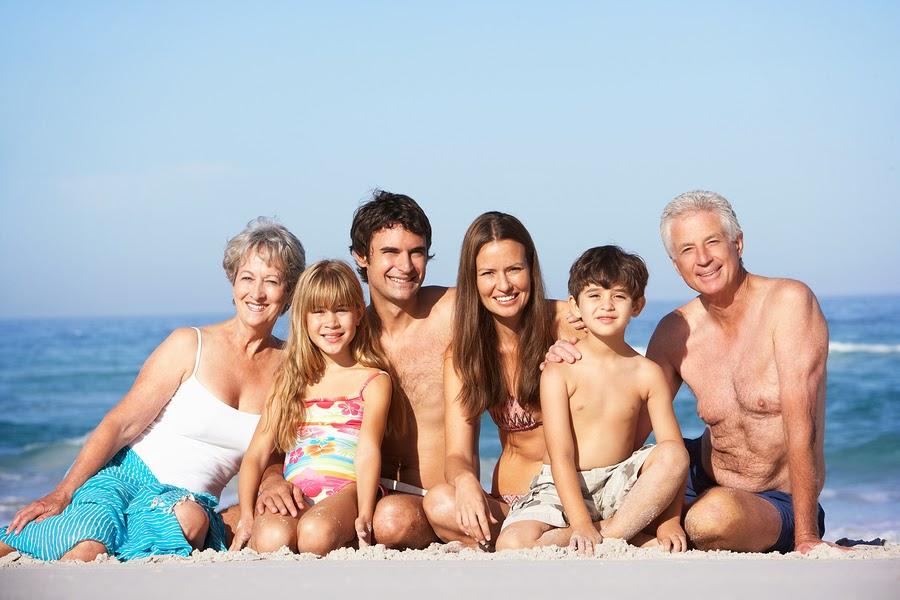
Family reunions are a time for having fun and building great memories, so it only makes sense that the venue plays a major role in the success of your get-together. Large cities can be noisy and crowded; mountains and campgrounds may not suit all comfort levels among your loved ones, and generic
Read More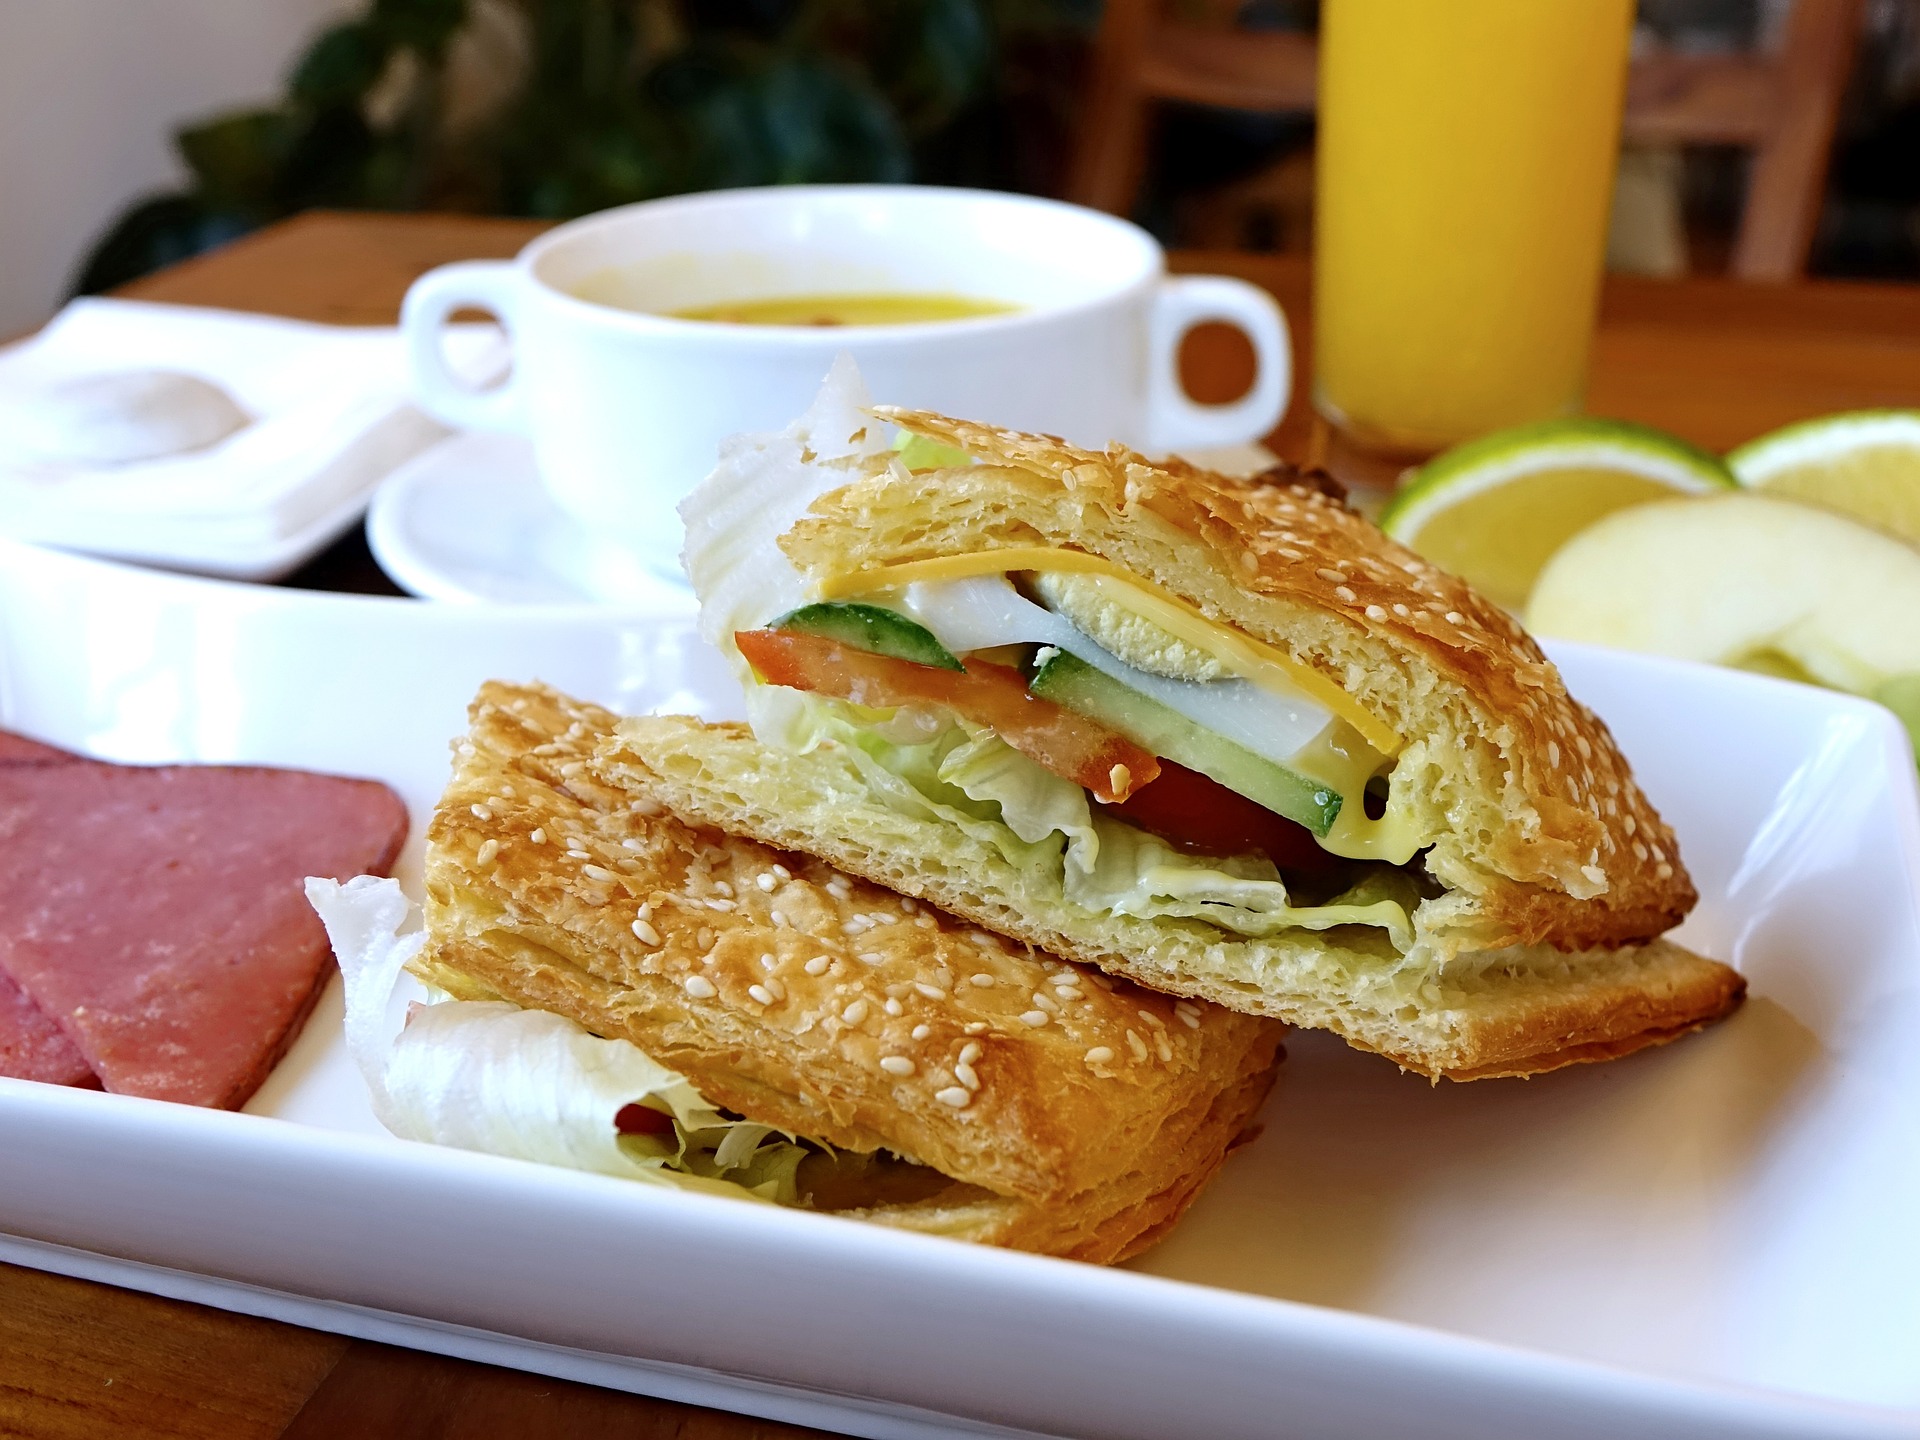
We all know that breakfast is the most important meal of the day, so we are here to help you find some of the best places to get breakfast in and around the Sandbridge area.
Read More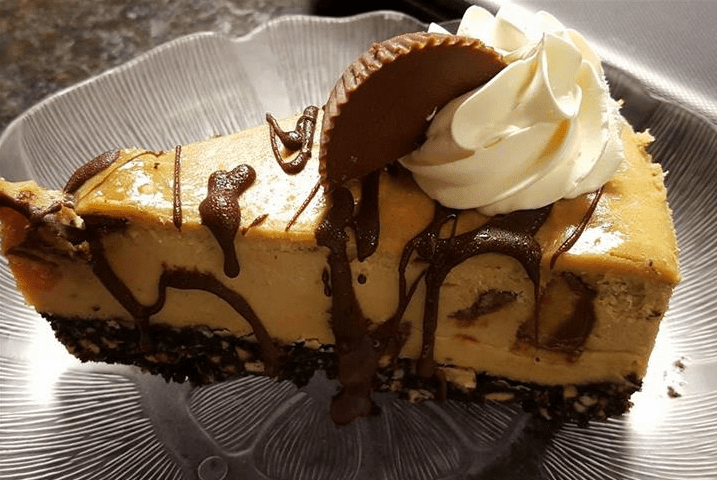
If you're a foodie like me, finding a good place for dessert is a necessity on any vacation. Whether you're looking for a quick ice cream cone after a long hot day on the beach or just something to satisfy your sweet tooth while exploring around Virginia Beach, we've got you covered!
Read More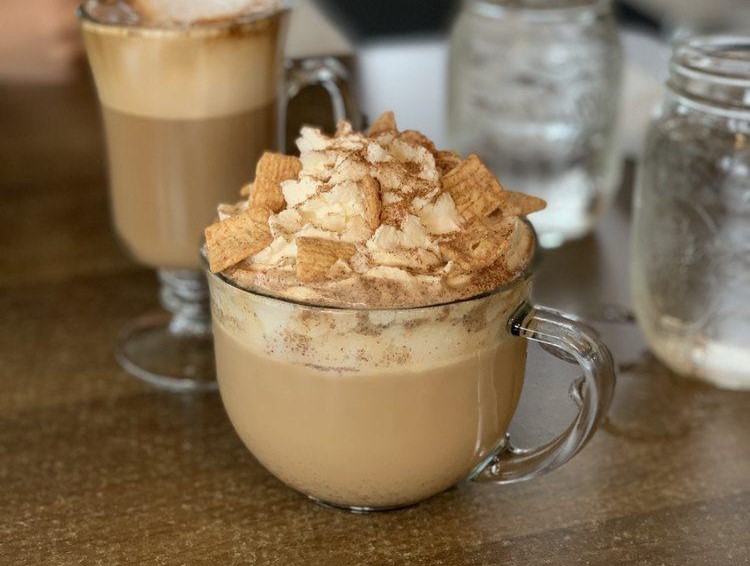
If you're anything like me then your morning doesn't start until you have a good cup of coffee. This doesn't mean we have the same taste in coffee though. Often, this is the situation that happens when you have a large group of friends and family on vacation.The solution to this problem is simple: hit up the local café to soothe every coffee drinkers pallet!
Read More